Step-by-Step Guide: How to Create an Ethereum Name Service (ENS) Domain
An Ethereum Name Service (ENS) domain is a human-readable name that is mapped to an Ethereum address. For example, instead of sending funds to a long hexadecimal Ethereum address, you can send it to a shorter and easier to remember ENS domain such as “myname.eth”. ENS domains are stored on the Ethereum blockchain, and the mapping between the domain name and Ethereum address is maintained through smart contracts. Users can register, manage, and transfer ENS domains through various ENS domain registrars and management tools.
ENS domains can be used in a variety of ways, some of the most popular include:
- Cryptocurrency payments: You can use an ENS domain as a payment address instead of a long Ethereum address. This makes it easy for people to send you cryptocurrency payments.
- Decentralized websites: ENS domains can be used to access decentralized websites built on the Ethereum blockchain, such as those built with IPFS or Swarm.
- Decentralized apps (dApps): ENS domains can be used to access dApps built on the Ethereum blockchain, making it easy for users to remember and find the dApps they want to use.
- Non-Fungible Tokens (NFTs): ENS domains can be used as unique identifier for NFTs.
- Certificates: ENS domain can be used as a certificate of ownership for digital assets, such as domain names, digital art and more.
- Decentralized identity: ENS domains can be used as a decentralized identifier for your online identity, allowing you to have control over your identity data and sharing.
- Stable coins: ENS domains can be used to store stable coin addresses, allowing for easy access and usage.
- Other potential uses include using ENS domains for decentralized marketplaces, prediction markets, and other decentralized applications.
Steps to Create an Ethereum Name Service (ENS) Domain
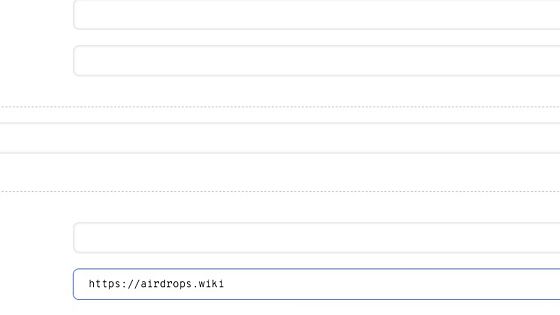
1. Navigate to https://app.ens.domains/
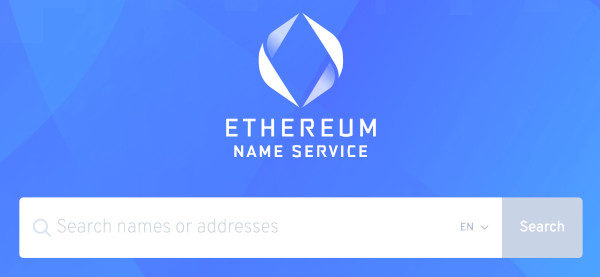
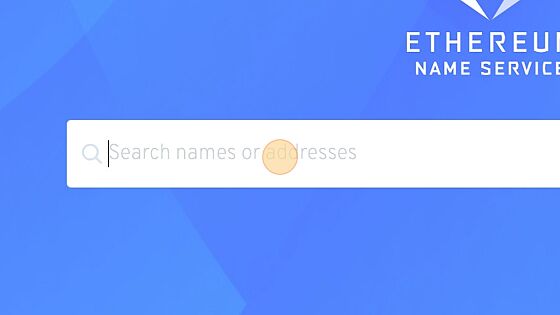
2. Click the "Search names or addresses" field. Enter the domain name that you wish to register to see if it is available. Then click "Search"
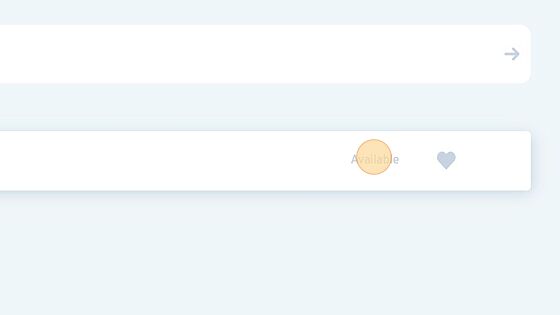
3. Click the heart icon if you want to save to your Favorites.
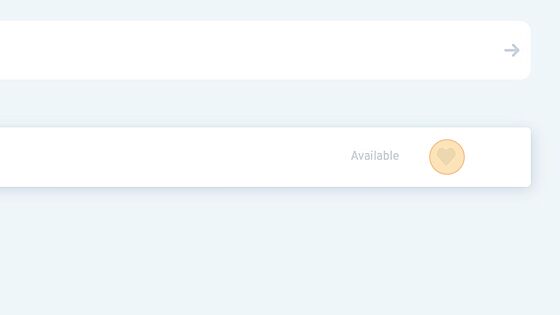
4. Click "Available" to begin the registration.
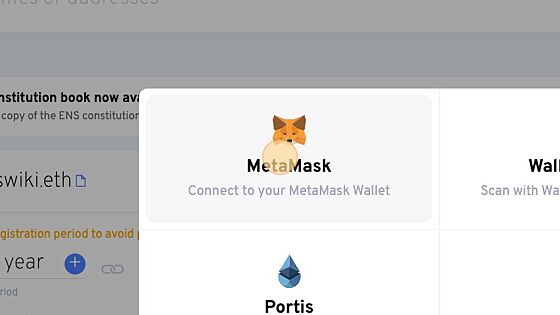
5. Click "Connect" to connect your wallet.

6. Click "MetaMask" or the compatible wallet that you use.
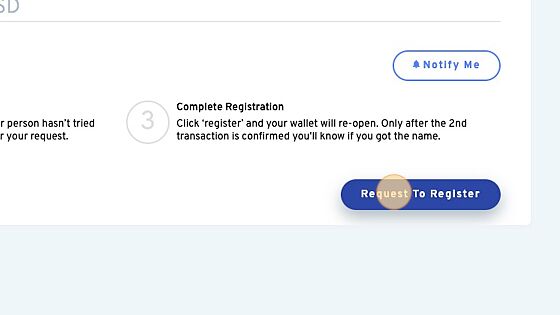
7. Click "Request To Register"
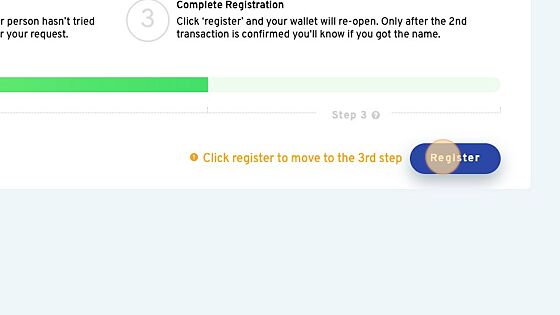
8. Switch to tab "MetaMask Notification"
9. Click "Register"
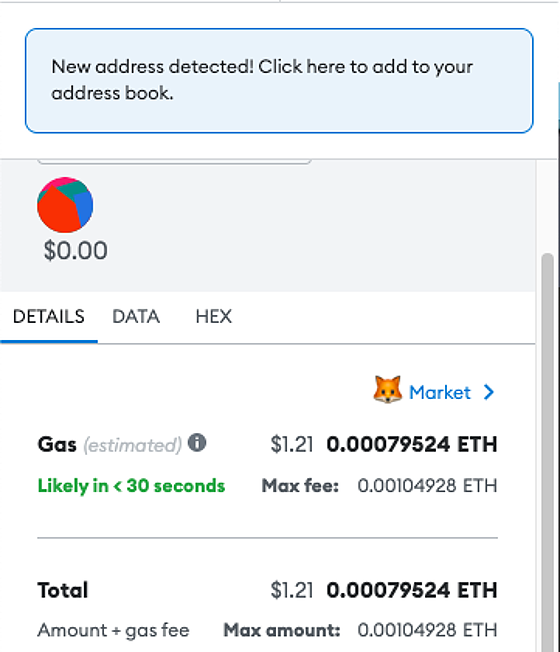
10. The first transaction is a request to register the domain. A Metamask window should open, confirm the transaction. Then a second transaction for the domain NFT which is an ERC-721 token.
11. Once the domain is registered you can click "Set As Primary ENS Name"
12. Click here.
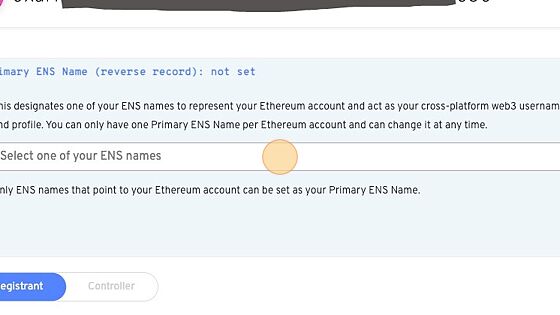
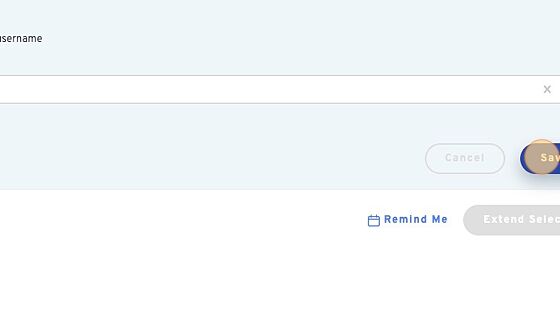
13. Select your domain in the drop down.

14. Click "Save"
15. A Metamask window should open, confirm the transaction which sets your Primary ENS Name.
16. You can then set your other wallet addresses for BTC, LTC, DODGE, or you can select from a variety of others from the records drop down. You can also set text records like email, url, avatar, description, discord, twitter and more. Suggest you set everything that you possibly can in one transaction because if you want to change it you have to pay gas fees every time.